(Blanket covering our dog crate)


Here's how I made it...
Since every crate is gonna be different, I'm including formulas that correspond to this picture instead of actual measurements.

-A few yards of outdoor fabric Outdoor fabric is resistant to stains and fading, and it's extra sturdy, i.e. hard to tear up. You'll need roughly (Bx4) + D + C inches of fabric, then divide that by 36 to get the yards. It depends on the width of the fabric and how big your crate is, because if A is half the width of your fabric, you may be able to cut out some of that yardage.
-Several packs of double wide bias binding tape. Total yardage of biased tape should be (Ax4) + (Bx8) + (Cx2) + 12".
-Thread that matched my fabric and thread that matched my binding tape
-I'll probably go back and by some rickrack to make decorative stripes on the cover.
Making the Cover...
Panel #1 (C wide and B+B+D long)
I cut one large rectangular panel large enough to cover the top and sides of the crate in one swoop. I trimmed it out by sewing on bias binding tape (cuter and easier than turning under the edges).
Panel #2 (A wide and B + 2" long)
Then I cut a square flap for the back end of the crate and trimmed it with bias tape (on three sides). I made this flap the full size of the back end, with a little extra length on the unfinished edge to sew it to the top panel. I sewed it onto the top panel (like I'm making a cross shape).
Panel #3 (D wide and B + 2" lon)
Then I cut a flap the size of just the front door (not the full size of the end of the crate) and trimmed it out with bias tape (on three sides). This panel will be a little narrower than the back panel. I made this flap narrower so it will allow the dog to go in and out when the door is open, and it allows ventilation into the crate. I left a little extra length on this panel also and sewed it to the main panel at the unfinished edge, completing the "cross" shape".
Here's how it looks all laid out, to give you an idea of the "cross" shape.


This four flap design is great, because you can easily lift a flap from any side to check on your pup!
But then I realized I had to find a way to attach the cover to the crate, or BeiBei would pull it right off. Although buttons or ties would have been cute, I couldn't do anything she would want to tear off.
I discovered that there are little hooks going all round the top edge of the crate. So I measured where the hooks were and made four little loops out of the bias tape to attach to the hooks.


So here's how BeiBei's crib's lookin' these days. We'll probably put the crate back under the table eventually, but she likes to hang out under the table like a little fort...so I'll let her have her fun.

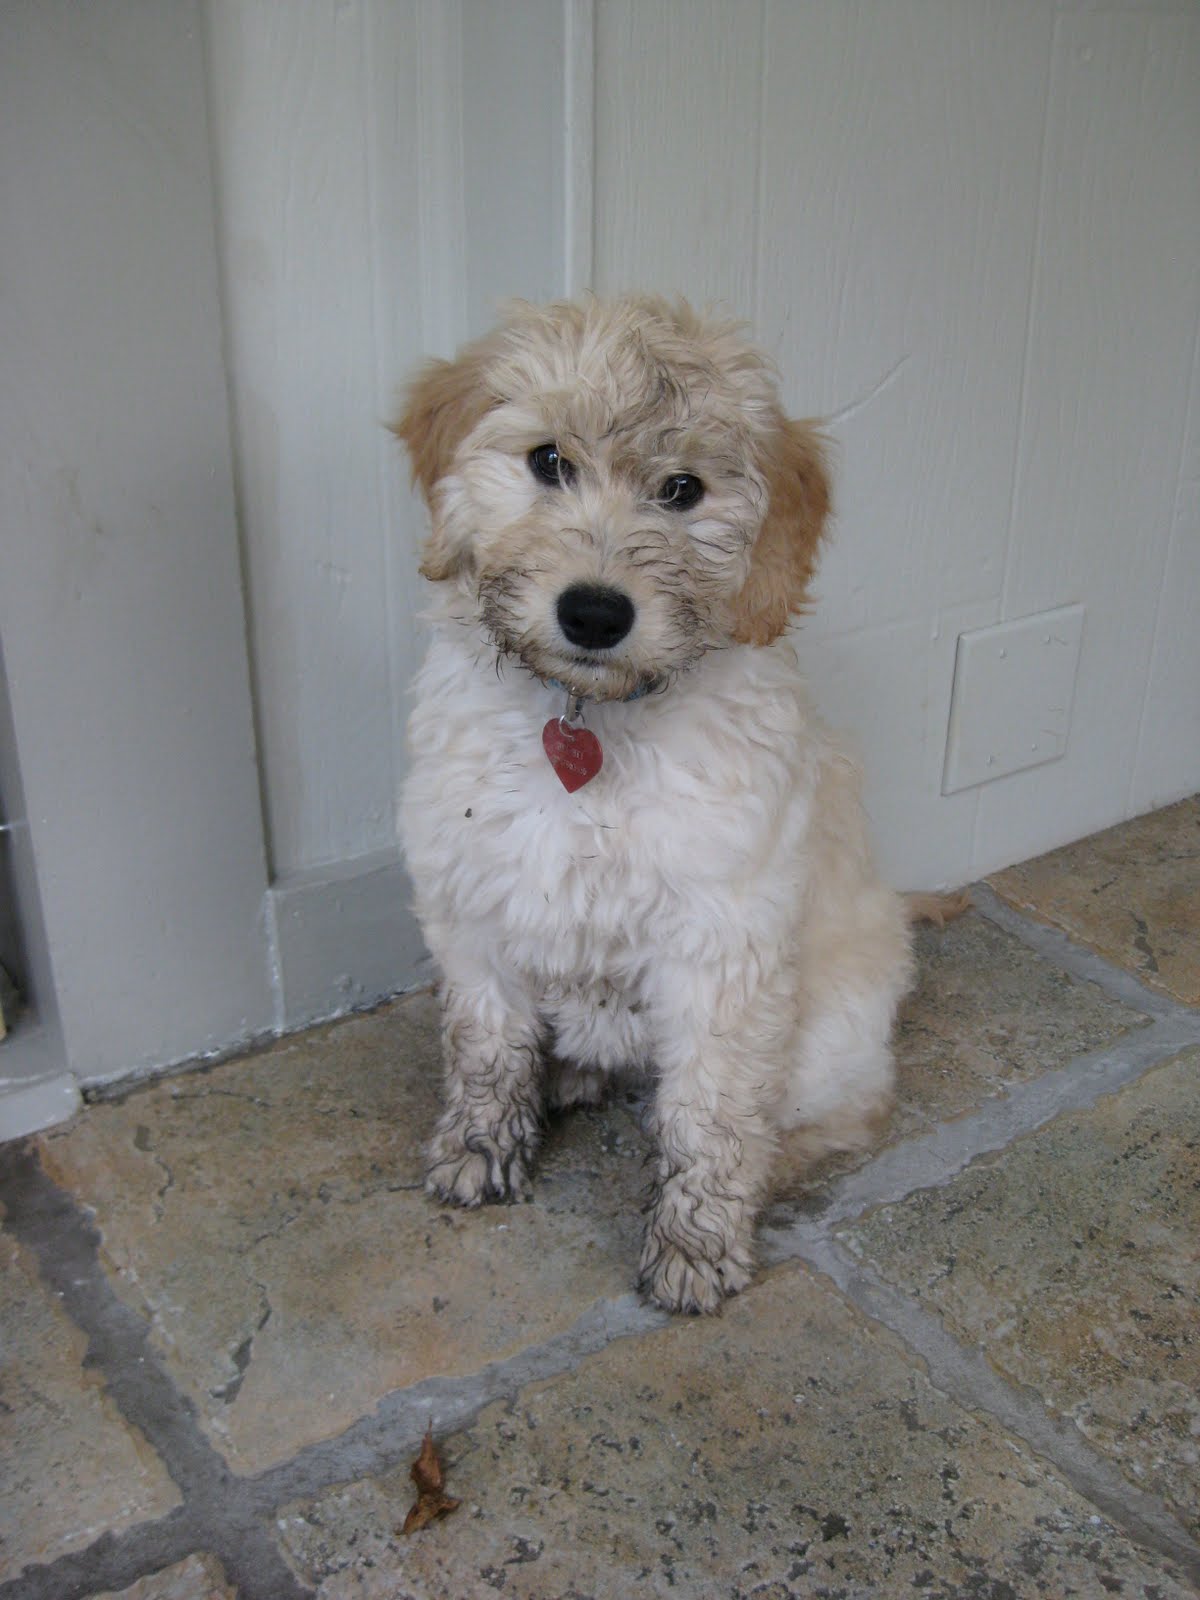
And just for fun, here's the little cutie herself after digging some holes in the backyard...
And in the car...

I'm a little obsessed...I know.
sara, this pup is so cute. our dog used to dig and i did some research--- you can buy a kiddie sandbox or just make a small one yourself and bury some toys in there and she will learn to only dig in the sand. this is helpful because not only does it preserve your yard, but it is much easier to clean up! just make sure when she starts to dig to take her to the sandbox and play with her toys in there or whatever.
ReplyDeleteso cute. bei bei and buckley need to be friends.
ReplyDeleteThanks so much for posting this! I just finished my crate cover and I'm super pleased with it. It was so easy with your instructions! I loved using the bias tape instead of hemming. Your pup is super cute (especially the apricot ears). We'll be picking up our labradoodle (in 2 weeks). =)
ReplyDelete