Showing posts with label Benjamin Moore Coastal Fog 976. Show all posts

Wednesday, August 8, 2012

Just add baby!

Chris and I can't wait to welcome home, Baby Boy Walker.  My due date is August 13th, so he could be here any day now!
Although our house is still under renovation, and things feel a little disheveled, the nursery is all ready!


The bumper pad wasn't ready yet when I took these photos, but here's the fabric...

Thanks for checking in!  Hopefully my next post will have some pictures of sweet baby boy!

Tuesday, July 17, 2012

An update on the Walker decor...

Here's just a few updated shots of our living room...


 Lately, I'm inspired to take a paint brush to some things in our home...just not sure which first and what color......this includes the coffee table, the marble top top chest, the china cabinet in the dining room, the wing back chairs, and the little footstool in front of the wing backs.  I won't paint all of these...but just thinking about it.
.........someday......after I paint the crib.......and have a baby........and we finish our renovation, I'll get back into some projects like that.

Thanks for checking in!


The progress of a work in progress

Well, it's been seven months since my last post!  Yikes.
If anyone still reads this thing...I have an update on what's been keeping me busy and away from the computer.

Firstly, Chris and I are expected a baby boy in less than a month!  Yay!  Due date is August 13th.

Secondly, although I'm also still decorating on my own, I've been working for another designer, the fabulous, Fran Keenan.  I'm learning a TON from her, and love getting to glean from her wisdom, experience, and talent!  You can see some of her work here in Birmingham Home and Garden and her own homes were featured in Southern Living this past year (I can't find the link for that one) and in Cottage Living a few years back.  She's keeping me busy, and away from the computer.

Thirdly, since April we have been under renovation.  We moved out for three months.  We are still not finished, but since the baby is coming soon and blogging will be pretty low on the totem pole, I thought I should at least show the progress of the project so far.

Our kitchen went from this...

To this...


Now, it looks like this...
We uncovered lots of extra space, but eliminating a staircase down to our wet basement and installing a trap door in the kitchen floor instead.  

(It has not really been styled yet, and still has a box living under the table)


Grey sheet of drywall, that is taped off in blue tape, is sealing us off from the construction that continues in the back half of the house.  This will be a cased opening, just as it was before, which will now take you to a hallway with the laundry room, back door, and master bedroom (with new on-suite bath).


* Cabinets by Cannon Woodworking in Trussville, AL.  
* Countertops by Concrete Farmer in Trusville, AL.  


 So the layout in our dining room went from this...


To this...
(Dining room is full of boxes that we can't empty til the reno is over, and some extra furniture too)
By swagging the chandelier over, we have opened up traffic flow through the house, and given ourselves more living space.  To the left, when the metal filing cabinet (barely shown in picture) goes to its new spot, after reno is complete, there will even be room for a chair and ottoman there!  


The view all the way through...

Thanks for checking in!
 

Monday, September 26, 2011

The Stripe Type

I'm very late posting this, but I got super motivated over Memorial Day weekend and striped up our little hallway!  


I love stripes and had thought for a long time that I wanted to do stripes somewhere in our house, maybe a bedroom.   For some reason, I had never thought of our hallway until I went to, my sister, Emily's house and saw what she had done in a little hallway in her house.  She is super crafty and did this with stamps!


A few step-by-step pics...

Before...

I decided on 6" stripes.  I figured that was going to leave the least amount of awkward leftover space.  At the very top, there is about 7-8" inches of wall color.  In a small hallway like this people are looking down a lot more than they are looking up, so I started my stripes at the baseboards and left the extra space for the top.  It's not noticeable to me at all now.  

First, I taped out my lines, finding a happy medium between truly level and what looked right to my eye.  Our house is old and un-level, and I often find what looks right to my eye is the better guide.  Something can be "level" but if it's not parallel with the baseboards and crown-molding...it's not gonna look right.  Also, a note for dummies...the stripes should continue straight through doorways and come out the same color on the other side.  

Next, I painted over my tape with the wall-color, Benjamin Moore Coastal Fog, to prevent my accent stripe color from bleeding.  

Then, I painted my second color, which is my trim color- Benjamin Moore Sandy Hook Gray.  But, before painting the second color, I put Xs on the stripes that would be painted to make sure they would work out right and not leave me with too much tone-on-tone trim/stripe action.  However, a little of this was inevitable.  I also did this to prevent dumb mistakes...which are always a strong possibility. 

Then, I let it sit for about 6 hours, peeled away the tape, and VOILA!


All I can say is...I'm glad I did this hallway and not a bedroom cause it was TEDIOUS and time consuming!

Thanks for checking in!


Wednesday, June 30, 2010

Making it feel like HOME: Our Guest Room

Here's the skinny on our guest room.  Our guest room is in the back of our house, and was clearly an addition to the rest of the house.  It is, what I like to call, "the armpit of the house."  Excuse my graphic expression, but it's just sort of the low point of the house.  It lacks the 1930's charm of the rest of the house.  It is full of tacky finishes and materials.  In a nutshell, there is much to be addressed in this room.   It has a very odd shaped impractical closet, faux wood panel walls, pine floors (instead of oak to match the rest of the house), wimpy crown moulding, tacky doors & door knobs, etc.  And to top it all off...it get's the worst light in the house.  We hope one day we can renovate this room to match the charm and quality of the rest of the house, and maybe add a bathroom to make this a master suite (making our house a more desirable 3br 2ba).

But for now, all I can do is decorate and try to make the most of what we have.  

So here are the pictures...

Our Guest Room went from this:

To this:

To this:

And finally to this:

This is the one room where our floors didn't get refinished.  There was rotten wood under the floor in this room, so we had to cut the floors open to repair it.  We patched it back together and at some point we will replace these pine floors with oak floors that match the rest of the house.  In the mean time, I call this "the red room".  Redish wood floors, burnt sienna-ish trim on the windows.  
We borrowed this rug from our friends, The Boneys, because they weren't using it in their current home. It is crucial to cut down the red factor in this room!


These curtains are LENDA in a natural linen color from IKEA, and are the same as the ones I bought for our living room.  Eventually I'd like to invest in some rings, instead of tab tops.  
I bought my bamboo sticks from Hobby Lobby, and had to glue two together for my double windows.

I gave it an eclectic feel by pairing the rough and tough pheasant and dear antlers, with the mercury glass, feminine plate, and girly floral dresser.
This is just an old wicker dresser that my parents have had forever.  It was originally white, then in college I painted it cobalt blue (pictured in 2nd picture from top), and now for this room I spray painted it light gray.  The knobs are from Anthropologie.  


The paint colors are all Benjamin Moore.  Coastal Fog 976 is on the walls, Sandy Hook Gray HC 108 on the baseboards and crown moulding, Pumice Stone is on the trim around the windows.  


I made the 3 pom-pom pillow shams to go with this old quilt I got from Target and used in college.  I'll post about that separately.

These sweet little globe lamps were my grandmothers.  I took the one on the left with me to college and broke the upper globe moving in!  Lesson learned.  Antiques and college don't mix.  


I made the bedskirt out of burlap, just as I did for our bedroom.


So here's the recap...

Before:

After:

So that's the run down on our guest room.  Considering it's our ugliest room naturally, I'm pretty pleased with how it turned out!  I think I'd like to be a guest in that room?  Yes, no?  

But let's be honest, this is how it actually looks most of the time...


Doesn't every newlywed's guest room look like a storage unit!?
Don't lie.


Tuesday, May 18, 2010

Making it feel like HOME: Our Bedroom

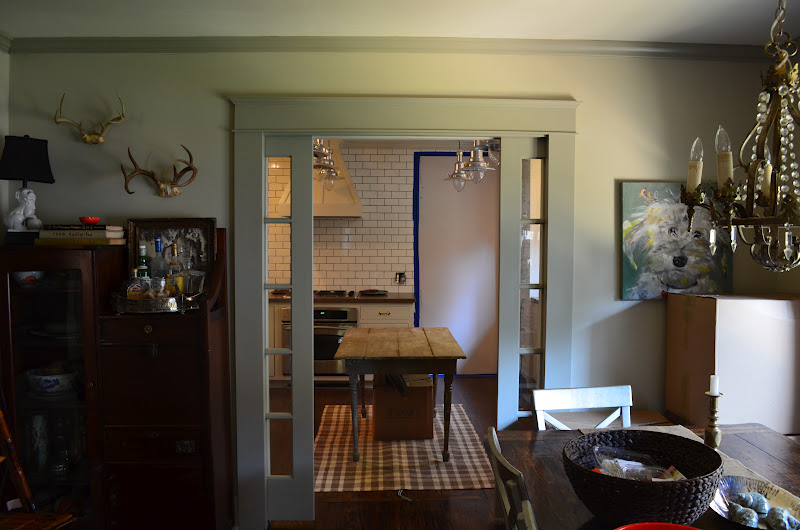
Our bedroom went from this...
To this...(smooth ceilingspaintcrown moulding)
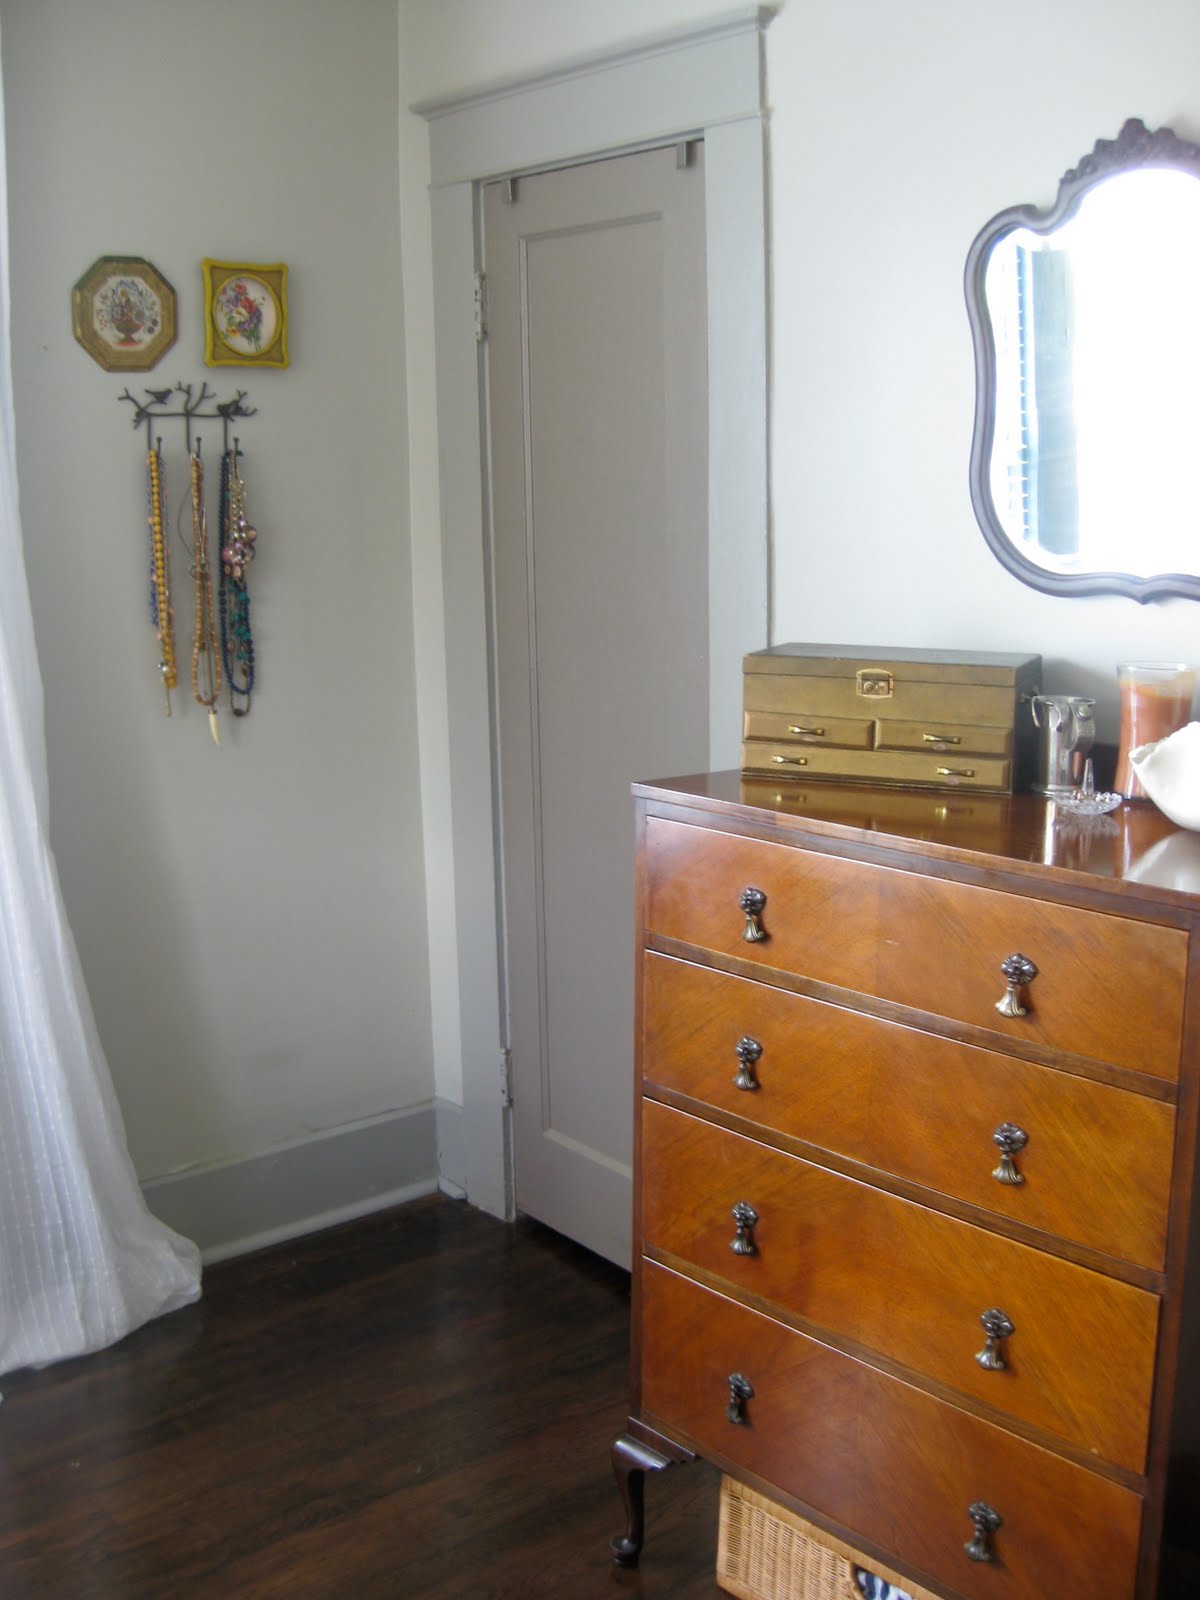
Wall color is Benjamin Moore Coastal Fog 976, Trim is Benjamin Moore Sandy Hook Gray HC 108, Ceiling is Benjamin Moore Tapestry Beige OC-32, Window trim is Benjamin Moore Knoxville Gray HC160, doors are Benjamin Moore Kingsport Gray HC-86.  
To this...(refinished floors)
Floors are stained High Gloss Dark Walnut.
 To this...
And finally, to this...
We built our headboard out of some old distressed shutters from my sister's house.  I'll post more on that later.
I love incorporating Chris's woodsy paraphernalia into the mix, like this dear skull, which actually really ties in all the creams and whites in the room.
I joined two bamboo poles, to make these extra long curtain rods, and got our curtains at IKEA.
On the left, are some antique ceiling tiles that my funky-junky sister found on the side of the road.  Way to Go, Liz, and thanks for sharing!  They were the inspiration for the blue gray and rusty red color accents in the room.  
Throw pillow is from Target.  Our bedding is from Macy's.  I think it's Hotel Collection.  
Lamps and chest are straight out of the local thrift store...all on the same day!  I freaked when I saw this chest, I wouldn't leave it's side til it was in my car.  I found each lamp on opposite sides of the thrift store, who knows if they were meant to be a pair.  They are slightly different from one another...which is even better.  I replaced the dirty white bell shades with these black drum shades.  
Sometimes it's all about function.  I hang my necklaces on these key hooks to keep them from getting tangled.  
The rest of my jewelry is stashed in this thrift/antique jewelry box and this Sally Legg bowl, that I love.
Since my husband does in fact share this room with me, he will soon be replacing my pretty little mirror with a mounted TV.  :(.  Oh well, you pick you're battles.  
Don't worry, this mirror will definitely find another home in our home.    
A BeiBei's eye view.  
I made this bedskirt out of burlap (idea from NestEgg), which I'll post on later.  However, you unfortunately can't see it in these pictures, because it's covered up by our massive comforter.  When I purchased this duvet cover, as a newlywed, someone assured me that we would quickly out grow our queen size bed, and so I should go ahead and get the King size duvet comforter.  It sounded like a plan at the time, and it seemed like it would be extra cozy and we wouldn't have to fight over covers.  
However, I just have to say, I won't be passing on this advice for a few reasons:  
...We actually love our queen size bed, and don't foresee upgrading in the near future.
...Because of the size and weight of this king size comforter it's always falling off during the night.
...It covers up our pretty bedskirt! 
...Visually, it drags the bed down. 
So, just don't try that one at home. 
But I do recommend putting your bed on risers.  It gives a ton of extra storage underneath, and an overall "grander" look!  But be prepared to make your own or pay more $ for an extra long bedskirt.

Here's the Recap...
Before:
After:
(BTW, please TRY to ignore the terrible fan light kit that has not yet been addressed.)

Thanks for reading, I hope you like it!
Leave a comment...please.

LinkWithin

Related Posts with Thumbnails